
Ductless Mini-Split Installation in the USA
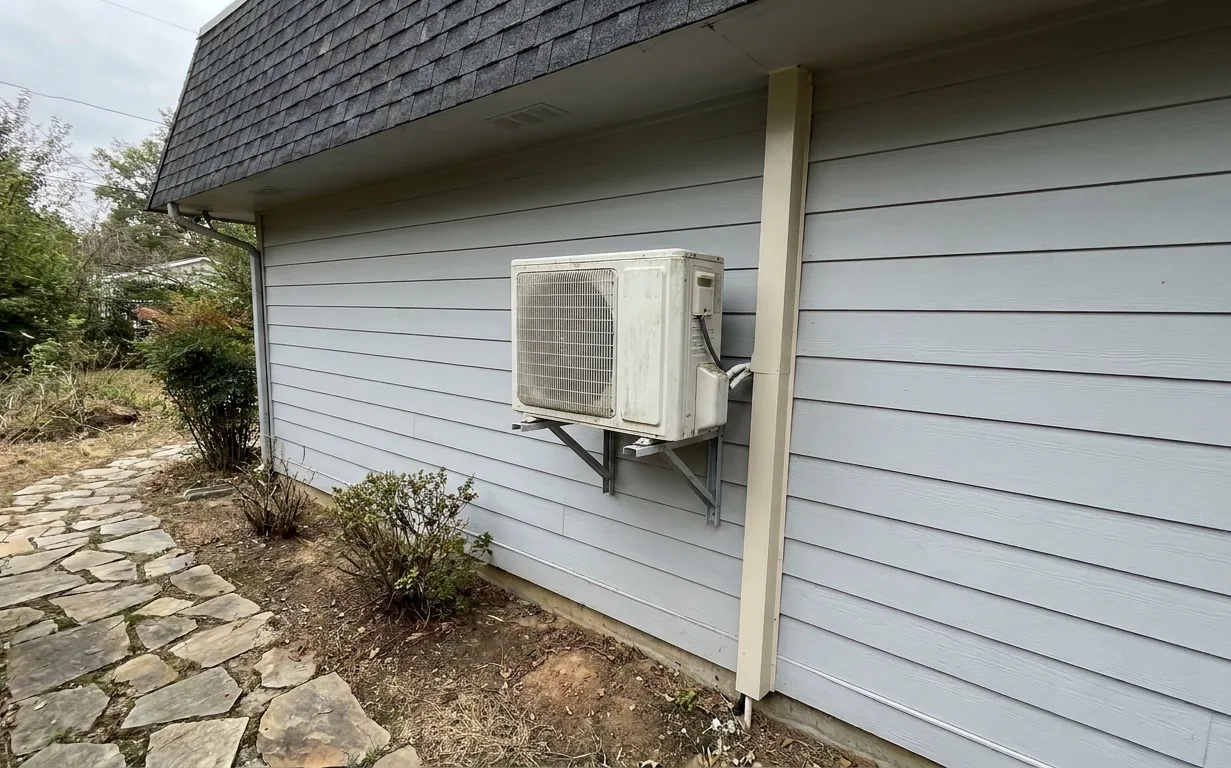
Cupe Mechanical HVAC installs ductless mini-split systems by first measuring the conditioned space load in BTU per hour. Technicians select indoor cassette or wall-mounted heads that match sensible and latent capacity. Outdoor inverters are placed on vibration-isolating pads with clearances for service access and coil cleaning. Refrigerant line sets are routed through wall penetrations, insulated to prevent condensation, then pressure-tested and evacuated before final charge.
Our crews terminate line sets at flared or brazed joints, connect condensate drains with proper pitch, and wire low-voltage controls plus dedicated 208-230 V circuits. Startup includes checking compressor amperage, verifying EEV operation, and confirming even supply-air temperature across all heads. Airflow is measured at each grille to confirm design velocity before the system is released to the owner. Our crew measures static pressure before and after ductless mini-split installation arranged with Cupe Mechanical HVAC operating in the USA.
Signs a Ductless Mini-Split Needs Professional Installation
- Uneven room temperatures despite running window units
- High humidity levels that dehumidification mode cannot control
- Visible frost forming on indoor coil during cooling
- Frequent compressor short-cycling on mild days
- Condensate dripping from the indoor unit chassis
Load Calculation and Equipment Selection
Technicians calculate envelope gains through windows, walls and infiltration using Manual J methods adapted for single-zone loads. Oversized heads cause short cycles that leave humidity high; undersized units run continuously without reaching setpoint. Cupe Mechanical HVAC matches inverter capacity to the calculated sensible load and chooses heads with multiple fan speeds for airflow adjustment.
Placement of the outdoor unit accounts for prevailing wind, snow depth and neighbor noise. Indoor heads are positioned to blow across the longest room dimension, avoiding direct discharge onto occupants or thermostats. Condensate lines are routed to approved drains or exterior discharge points with cleanouts.
Line Set Routing and Pressure Testing
Line sets are cut to length, deburred and flared with torque wrenches to manufacturer specifications. Each joint receives a nitrogen purge during any brazing. After connection, the entire circuit is pressurized to 450 psig with nitrogen and held for leak detection using soap solution at every fitting.
Evacuation follows with a two-stage pump and micron gauge. Target is 500 microns or lower, held for thirty minutes with the pump isolated. Only after a stable vacuum does charging begin with the exact weight or superheat method listed on the unit data plate.
Electrical Connections and Controls
A dedicated branch circuit sized for MCA and MOP feeds the outdoor disconnect. Control wiring uses 14-4 or 18-4 thermostat cable between outdoor unit and each head. Polarity and grounding are verified with a multimeter before power is applied.
Remote controllers are paired to the correct head address. Wi-Fi adapters, if present, are configured through the manufacturer app. Defrost settings and minimum run times are left at factory defaults unless site conditions require adjustment.
Startup Verification and Airflow Check
At startup, suction and discharge pressures are recorded along with inverter frequency and indoor supply-air temperature. Each head is run individually to confirm EEV modulation and condensate pump operation. Filter access panels are secured and airflow is measured with a vane anemometer at the return grille.
Homeowners should first clear furniture and drapes from the planned head locations and confirm the outdoor pad area is level and free of vegetation. After installation, keep return air paths unobstructed and schedule seasonal filter changes to maintain coil cleanliness and system efficiency.
Ductless Mini-Split Installation questions
How long does Ductless Mini-Split Installation take?
A single-zone installation typically requires one day once line routing and electrical circuits are prepared. Multi-zone systems may need two days for evacuation, charging and commissioning. Cupe Mechanical HVAC schedules the work so the home remains comfortable during the process.
What size line set is required for a mini-split?
Most residential units use 1/4 inch liquid and 3/8 or 1/2 inch suction copper. Length and elevation differences are kept within manufacturer limits to maintain oil return and capacity. Insulation thickness is at least 1/2 inch on suction lines.
Can I install the indoor head myself?
Homeowners may mount the bracket and run low-voltage cable, but refrigerant connections, evacuation and charging must be performed by Cupe Mechanical HVAC technicians. Improper flaring or vacuum levels cause leaks and compressor failure.
What maintenance follows installation?
Clean or replace filters every 30 to 90 days depending on dust load. Wipe indoor coil fins annually and confirm outdoor coil remains free of leaves and debris. Annual inspection by Cupe Mechanical HVAC checks refrigerant charge, electrical terminals and condensate flow.
Schedule Ductless Mini-Split Installation
Contact Cupe Mechanical HVAC to measure your space and install a properly sized ductless system.